
Unpacking UPX (MinGW example)
Unpacking UPX
In this project, we’ll explore how to modify the strings (text) of executable files. When we run an executable file, strings like “Hello World!” that appear on the GUI are usually located in the rdata or .data segments. These are parts of the PE file structure used by the program to hold constant values like string literals.
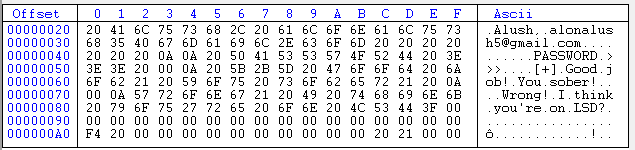
Below is an example of these data segments shown in the program CFF Explorer, for my crackme LSDtrip.exe:

As you can see, it indeed contains the strings of the program:
 In these kinds of executables, where the string are statically stored in the binary, we can simply load them up in a
Hex editor like
In these kinds of executables, where the string are statically stored in the binary, we can simply load them up in a
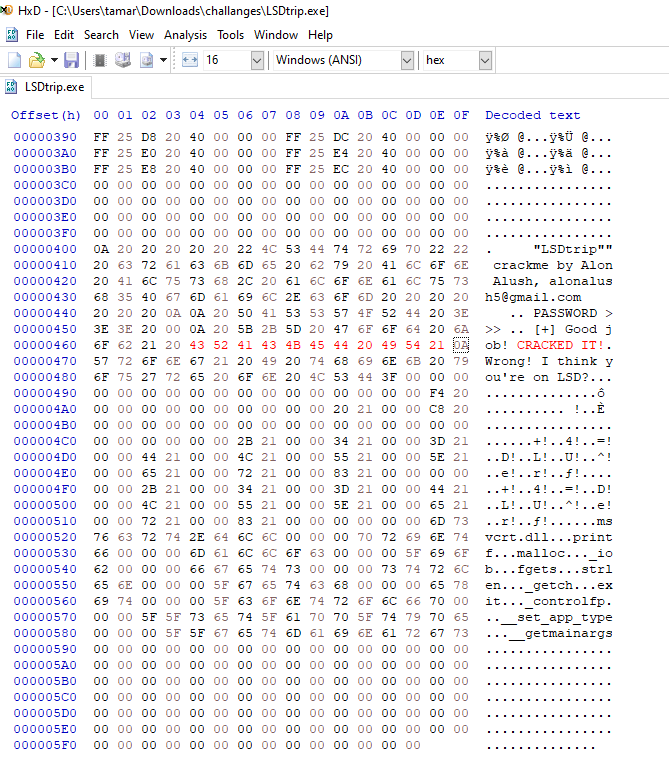
Hex editor like HxD and modify these values:
The unpacking process
The main problem is that, in most commercial programs, this won’t be as straightforward. Programs often don’t store the string “as-is” in the binary. Instead, they use a process called “packing”, where static variables are encrypted within the binary. At runtime, these encrypted strings are unpacked through a loop of assembly instructions, then loaded into memory and displayed in the GUI. This means that, in the executable binary, instead of seeing "Hello World", you’ll see something like `+@#4$g9j&f7%$l%5.
To modify these strings, we need to “unpack” the program. This means saving the executable code at a memory state where the program has already decrypted all the static string variables. This way, all the decrypted strings will be contained within our .exe file, and we could then easily change them.
For this process, we will use a debugger called x32dbg and its built-in plugin for dumping, Scylla.
 We will unpack an example UPX-packed
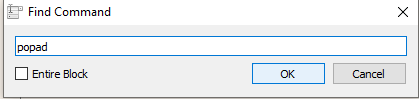
 MinGW executable. First, we open it in x32dbg, and click F9 until we reach the pushad instruction. Then, we’ll press Ctrl + F to search for the assembly instruction popad and locate it in the code:


Then, we set a breakpoint at the nearest jmp instruction to popad. In this case, it’s jmp 0x00401580. We’ll set a breakpoint on this address, and then we’ll press F7 (Step Over).
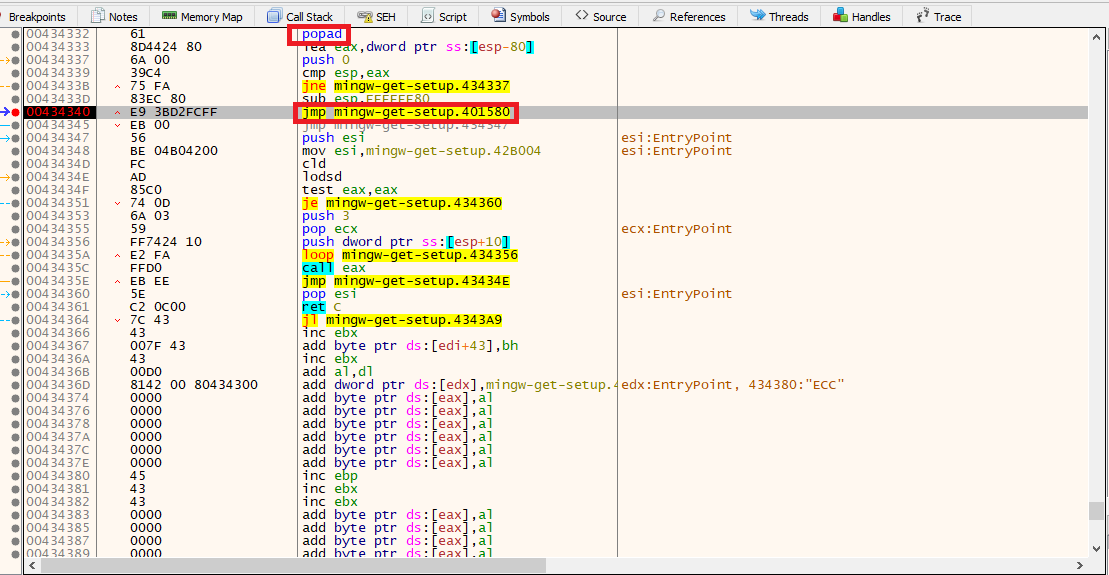
As you can see, the instruction jmp 0x00401580 takes us to push ebp. This is the OEP (Original Entry Point) of the program, meaning it’s at this instruction where the program finished unpacking itself and is ready for the actual intended code execution after unpacking.

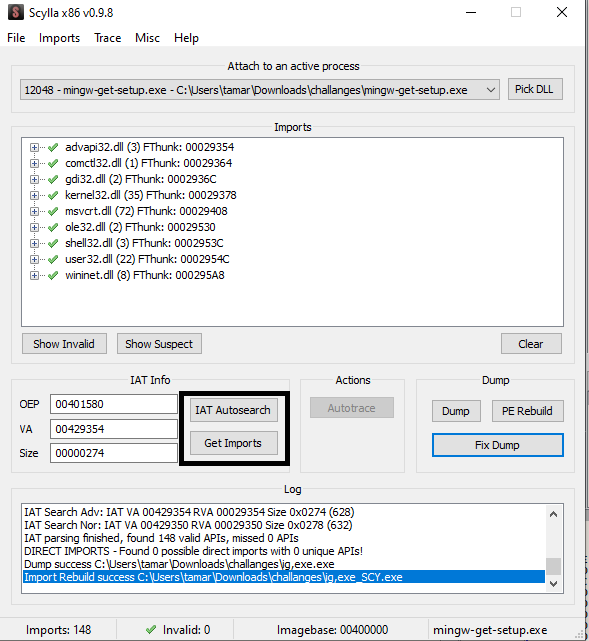
Now, we will open the plugin Scylla in x32dbg. We specify the OEP address, which is the instruction push ebp, address 00401580. Now, we’ll click IAT Autosearch and Get Imports:
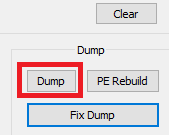
Next, we click Dump to save the unpacked executable:
Fixing the imports
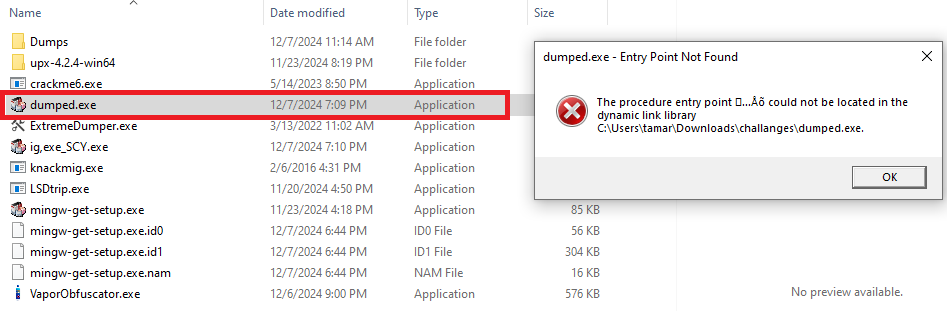
The file is saved as dump.exe. However, when we attempt to open it, an error message appears:
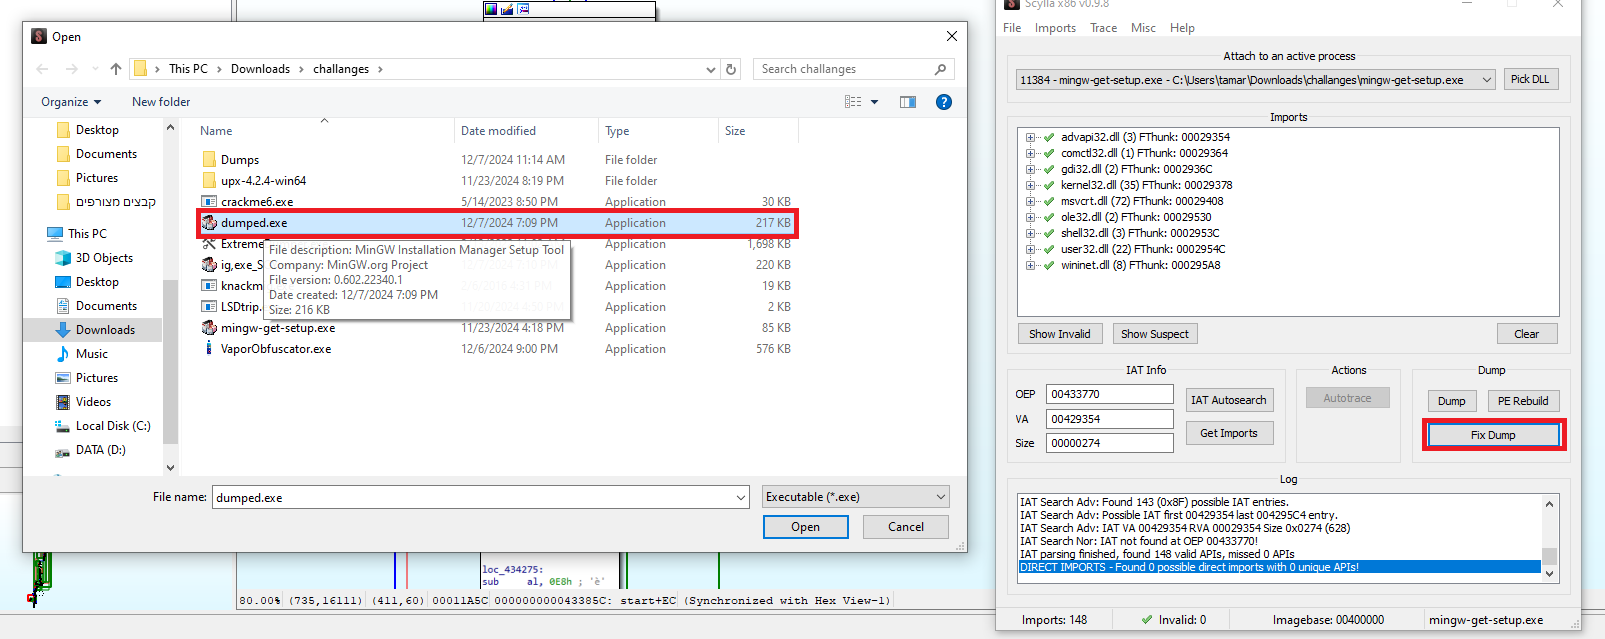
This error occurs because the imports are corrupted. To fix this, we return to Scylla, click Fix Dump, and select our dumped file, dump.exe:
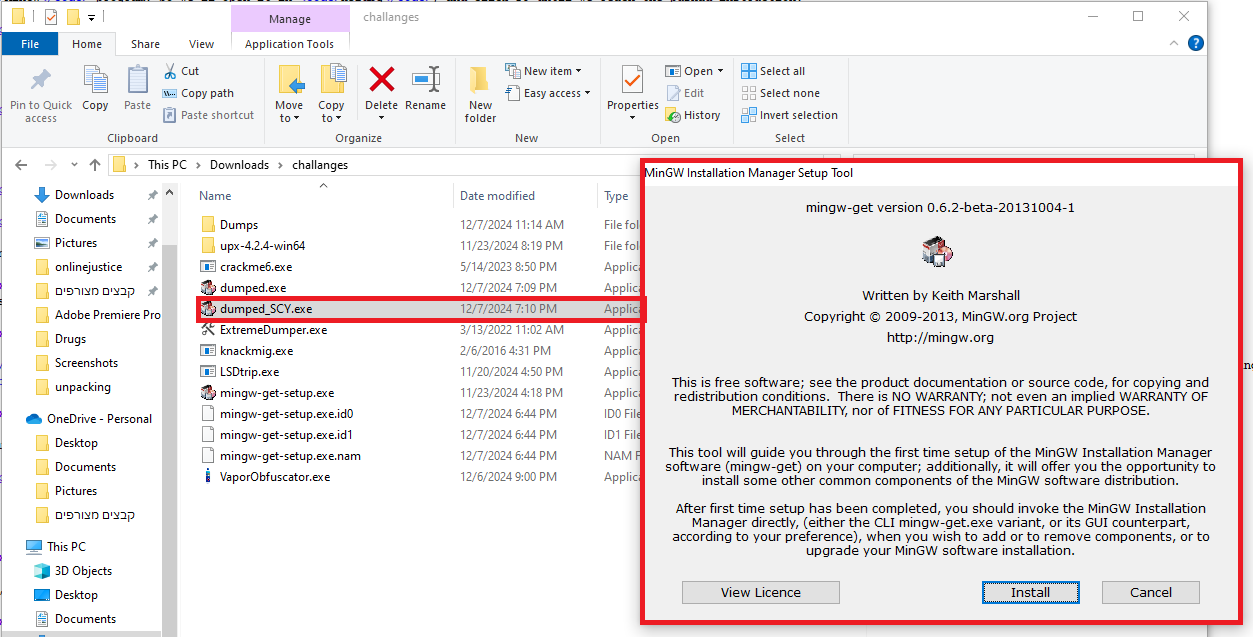
After fixing the imports, we have a working unpacked executable that we can modify, dumped_SCY.exe
Now, we can open the unpacked dumped_SCY.exe with HxD and modify the strings as needed:

Leave a comment